But anyone who has ever tried to sift through the hundreds of 1-inch colour chips in the local DIY store, or plastered their walls with expensive tester pots will tell you the process isn’t all that fun, or straightforward.
And that’s all before you even start painting.
But a range of direct-to-consumer paint brands are trying to change this process for the better.
These brands are trying to make it easier to find a color you love, easy to order paint (in the right quantities), and offering products that are superior and made better.
This past weekend, I decided to give Coat Paint a test-drive as I decorated my living room. Here are my thoughts…
About Coat
Coat is a carbon-neutral paint company based in Surrey, UK. The brand is built around simplicity and making it ridiculously easy to have an insta-worthy home.
Coat aims to use only Grade-A ingredients in its paints and tries to source as many as possible from the UK. Its paint is also low-VOC (Volatile Organic Compounds — VOCs — are gases that have a negative impact on indoor air quality).
Each of its paints also has a fun, unique name — “Are you still watching?” is a medium grey aimed to give you that cosy Sunday boxset feeling, and “Pool House” is a vibrant bluey-green designed to feel like LA.
30-ish Colours
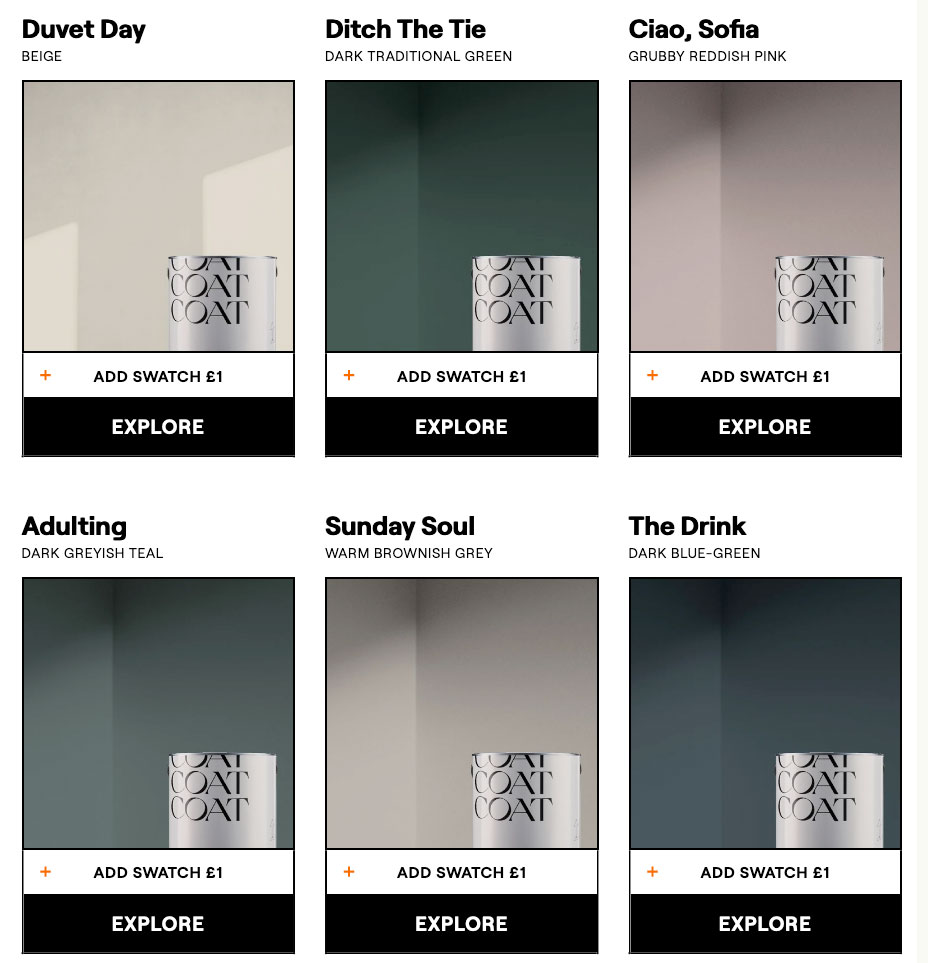
As I mentioned in the intro, if you’ve ever tried going to the DIY store to choose a new paint color you know how difficult it is to narrow down your choices from hundreds or even thousands of options. To make this easier for you, the Coat team has curated a collection of just 32 colours for interior projects.
Ordering Swatches
Instead of colour chips or tester pots, Coat offers peel-and-stick swatches that are large enough to give you a perfect picture of what the color will look like on your wall and also 100% accurate. Each swatch is painted with two coats of Coat paint (and having now painted my walls I can confirm its accuracy).
We ordered four swatches — My Island, a color we’d been debating using as a feature wall, and three grey-ish colours we thought might look good in the bedroom.
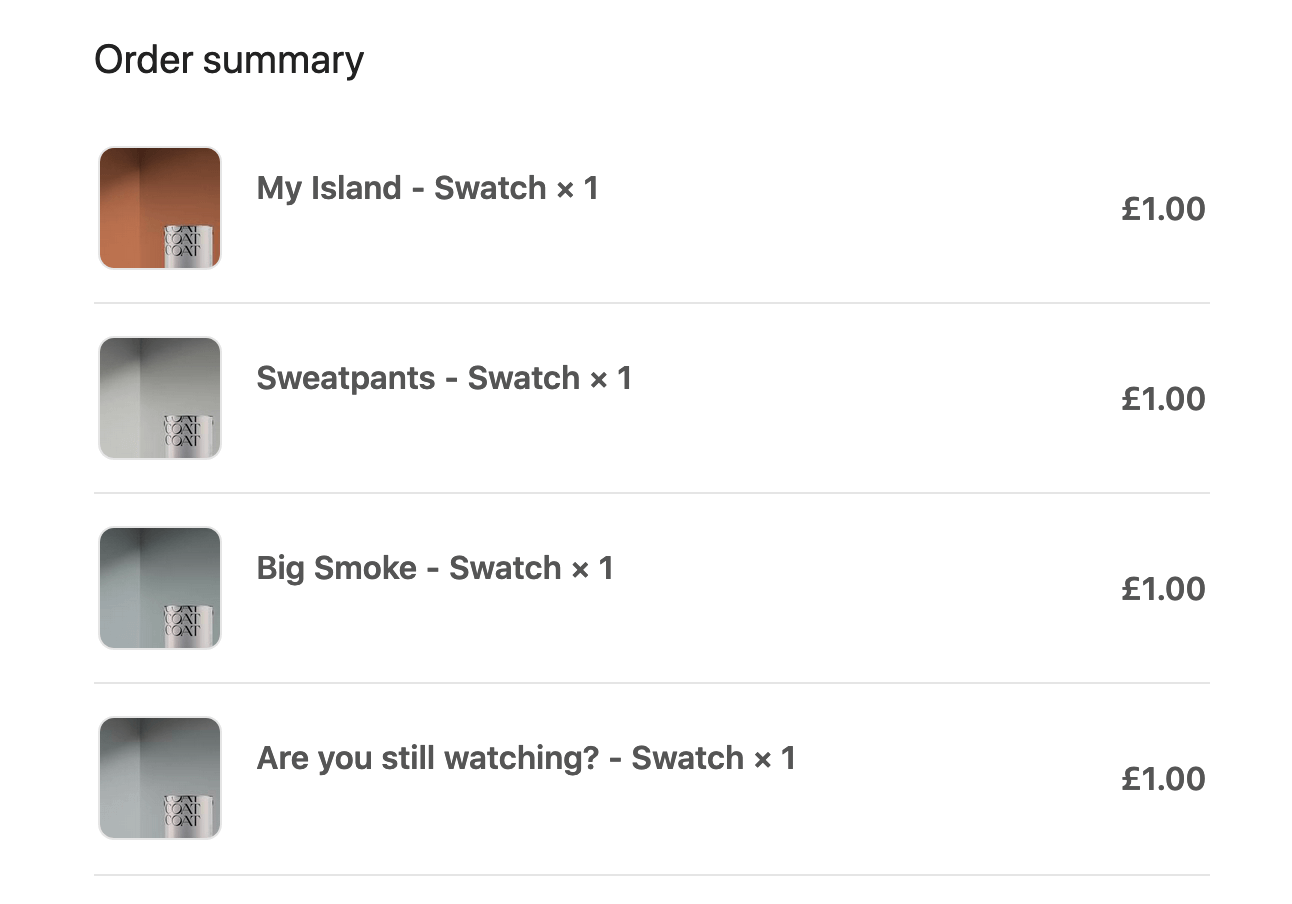
The swatches arrived the next day. They were super easy to peel and stick and left no marks at all when we moved them around to different parts of the room to see how they looked in various light environments.
Making an order
After leaving the swatches up on the wall for a few days, we decided to go with Coat’s My Island colour — a medium dusty orange, aptly described as “a warm escape to an Ibizan sunset” — for our living room feature wall.
As first-time decorators, we didn’t really know exactly how much paint we needed. But as we’re only painting a feature wall, we figured one tin would be enough. Thankfully, Coat has a neat paint calculator we could use to confirm our suspicions:

We also picked up the Essentials Supplies Kit — including a brush, roller, try and masking tape — and hit order.
Unboxing
As promised on its website, our order arrived the next day. And the unboxing experience was great — much better than what you’d get from a big-name DIY store.
The paint tin came in a canvas bag, and surprisingly, smelt delightful (a nice, unexpected touch that added a little to the experience). It was also accompanied by a short guide on how to best use the paint, a handwritten note from one of Coat’s co-founders, and a wooden stirrer to mix the paint before we start applying it to the wall.

The personal touch
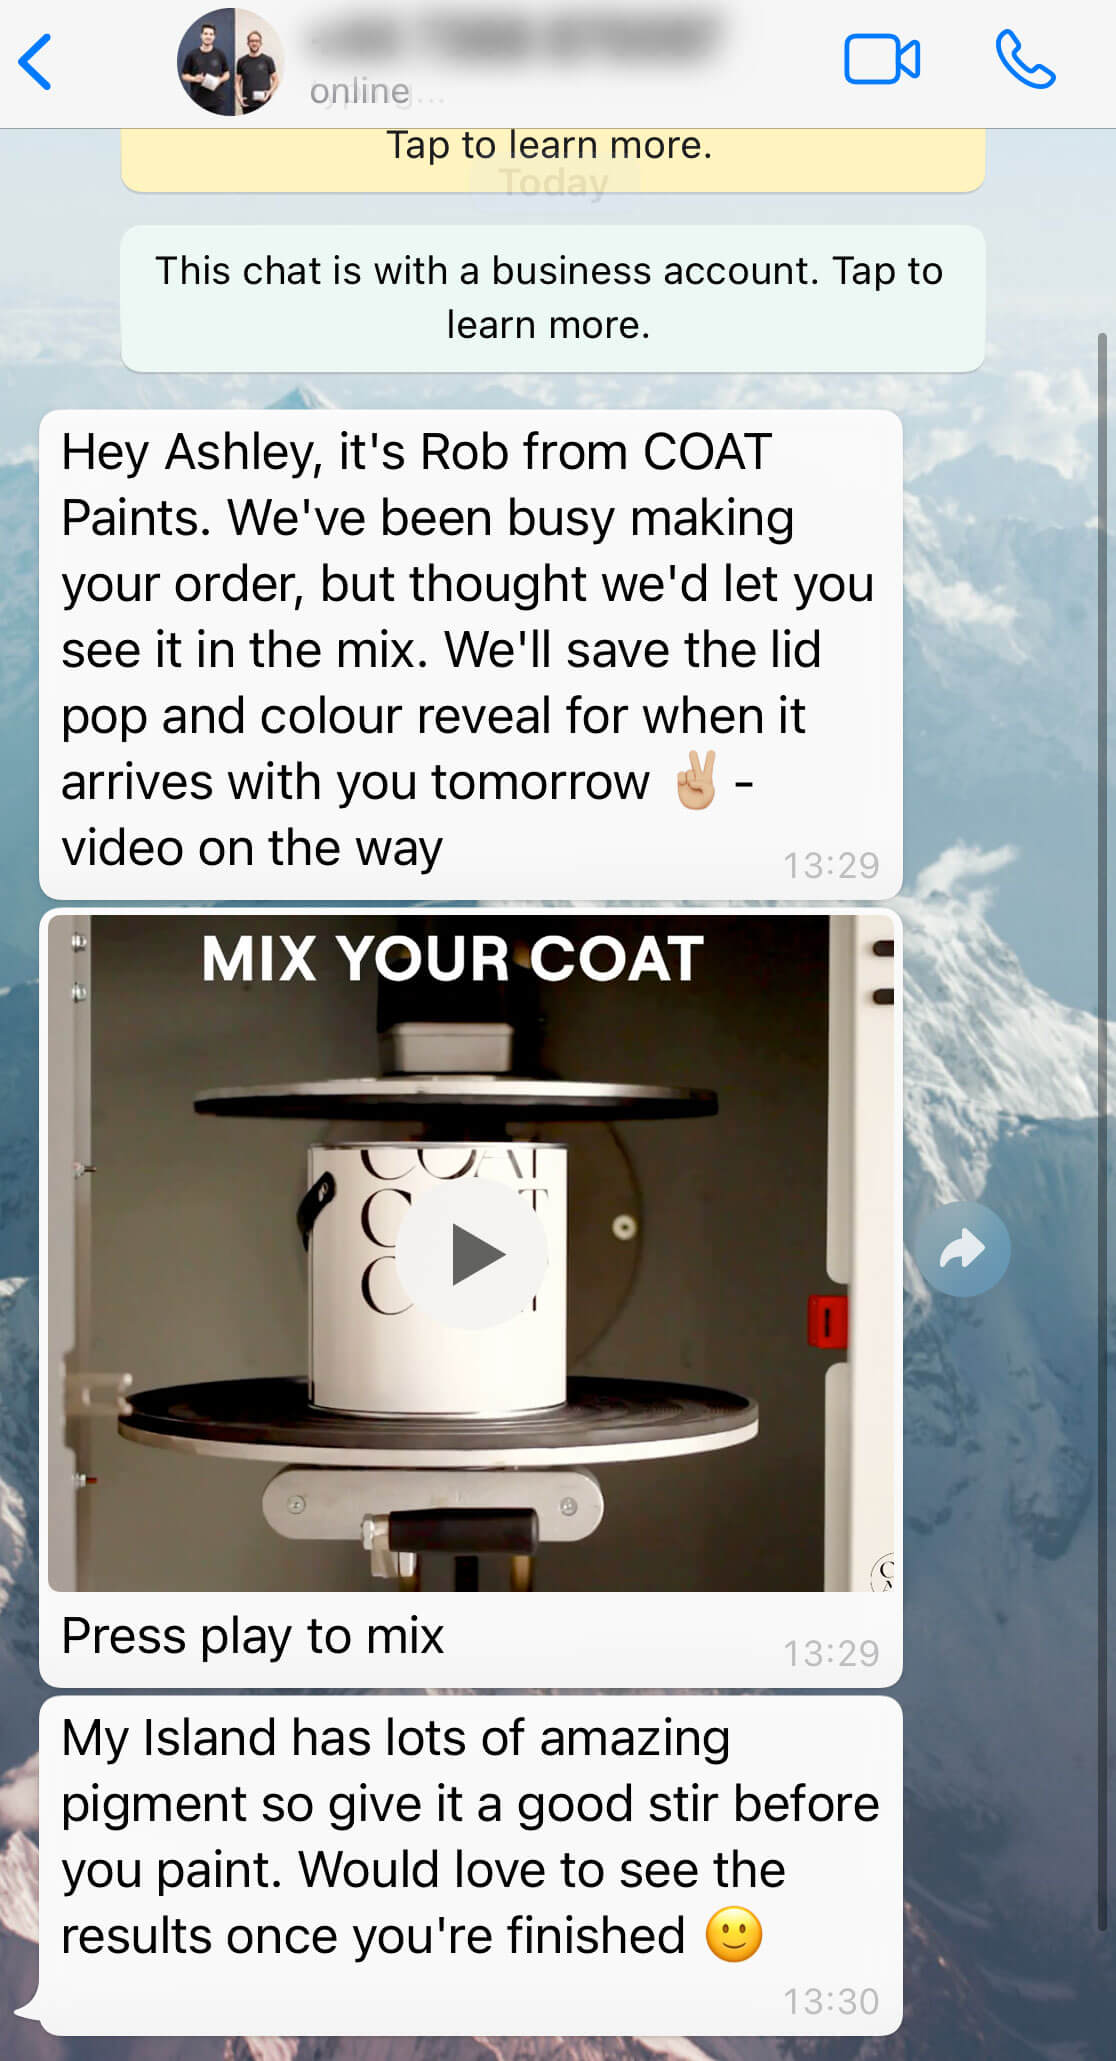
One thing that really stood out with Coat, was the personal touches from its team throughout the experience. When the swatches arrived, each featured a handwritten label (for the colour name) and the delivery also featured a nice handwritten note from the founder. And after ordering our paint and supplies kit I received a Whatsapp message from the team too.
Time to decorate
Our paint and supplies arrived on Friday morning, and early afternoon I got to work sticking the painter's tape provided around the wall fixings, skirting board, and ceilings. As we were color blocking a feature wall, we also put tape around the edges of the area we wanted to paint to ensure nice crisp lines.
After binging a few YouTube videos on cutting in and how to get an even finish, I was ready to go.
I used Coat’s 2-inch bamboo brush to cut in the edges, and then its roller to apply the paint to the rest of the wall. The paint smell didn’t seem too strong and dissipates quickly, we also left the windows open as long as possible to help.
The colour looked a little patchy as I finished the first coat, but dried into the shade from the swatch pretty quickly. It was dry to touch in around an hour. And Coat recommends adding a second coat after 2-4 hours, so I got started around 3-hours after applying the first coat.
After applying two coats, we had maybe 1-2 centimetres of paint left in the bottom of the tin — enough to feel safe that we weren’t going to run out. By the end of the job, we’d also used every item in the Essentials Kit.
The end result
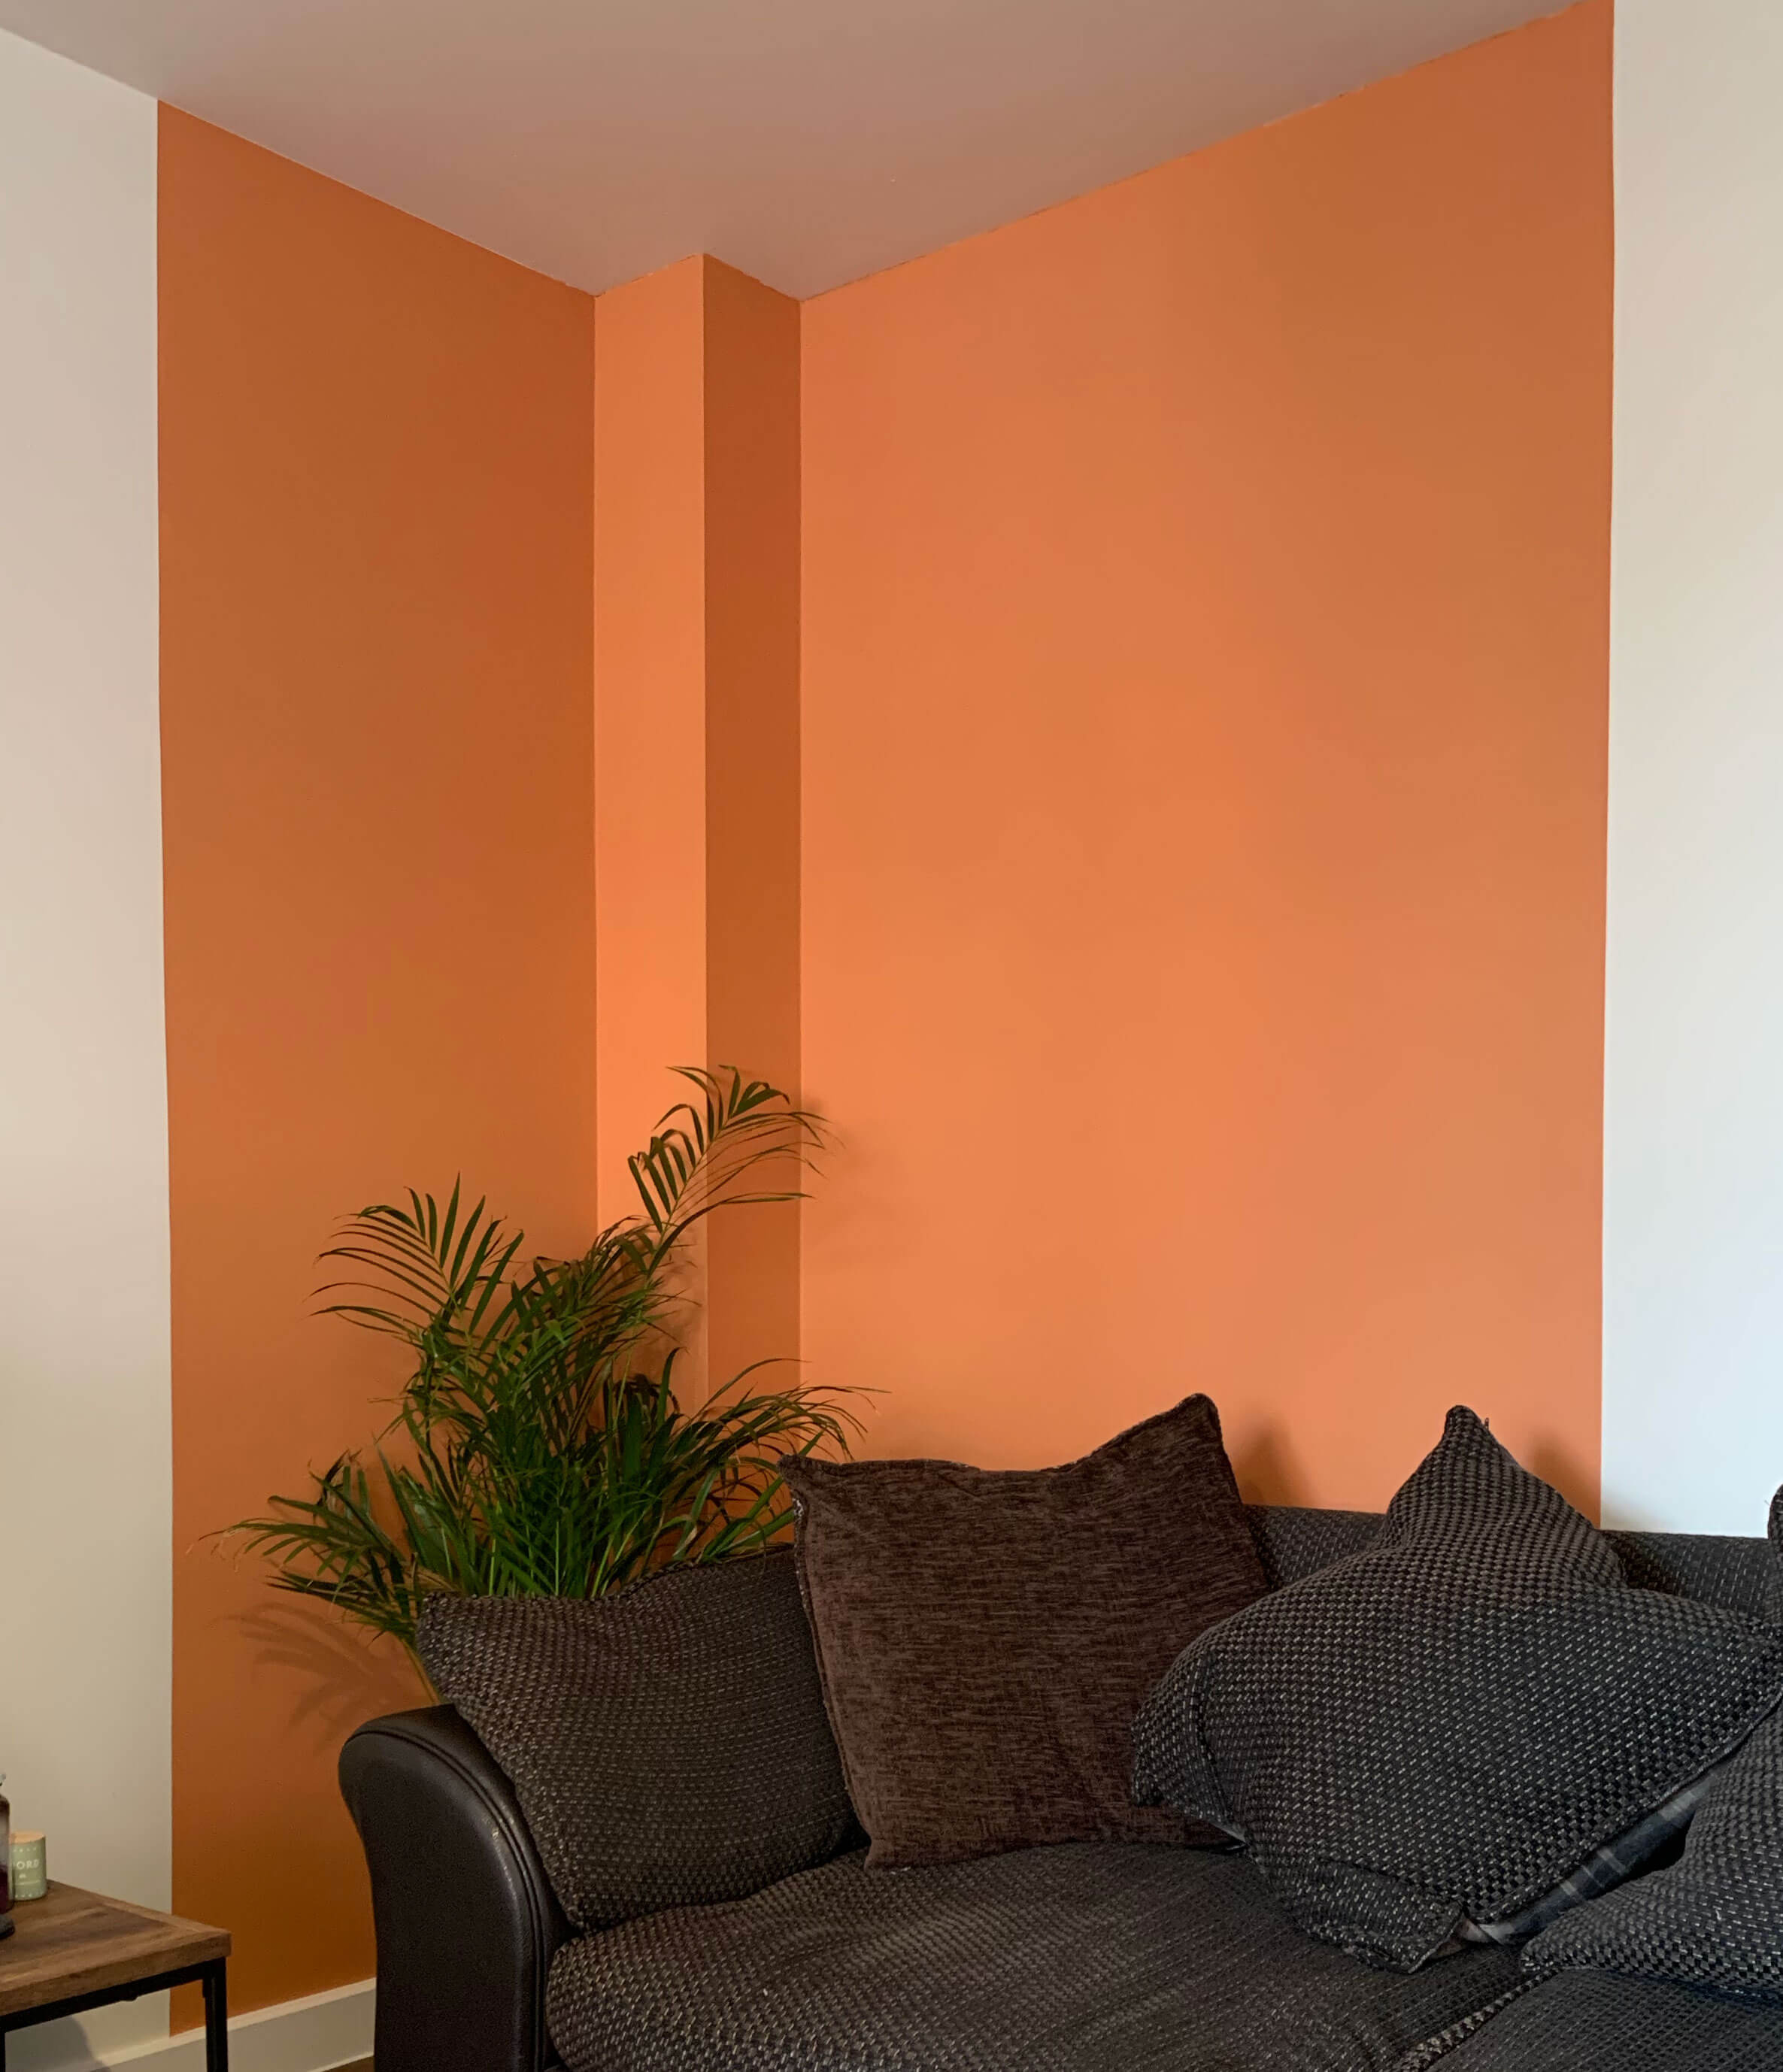
After seeing some really fun and unique color-blocking designs online, we decided to block out a couple of areas of our living room to break up the magnolia and bring some warmth and brightness into the room.
Here’s the end result in one corner of our living room:
Wrapping up
We spent £60 in total for 2.5 litres of paint and the Essentials Kit. That’s probably a little more than you might spend at a big-name DIY store, but honestly, it was worth it. The convenience of being able to order swatches, paint, and supplies without leaving the sofa was super helpful. And having such a well-thought-out curated offering of colours made it easy to pick the right colour for our room.
As a first-time decorator, I felt confident I’d be able to nail this project with Coat’s helpful tips and advice. Its personal touch also made it feel like the whole Coat team was backing, and supporting me all the way.
I’d definitely recommend Coat to anyone taking on a DIY painting project, and I’ve already started scouting colours and ideas for other rooms around the house.


